Wednesday, June 28, 2017

Summer Swelter, Yet Again

Here I am again facing the trials of summer heat. Still no air conditioner! I have so many UFOs to attack this summer. With a couple of Calls for Entry in my sights, including for the first time for me, Quilt=Art=Quilt at the Schweinfurth Art Center in New York and Art Quilt Elements at the Wayne Art Center in Pennsylvania. I have a plan and so far even with this spring's deviation from the goal list, I am on target.

What set me off of my planned goal list was a call for political art in Threads of Resistance. Feeling as overwhelmed and panicked as I still am about what is happening in my country, I felt a need to try to create a piece in just two months for the exhibit. Organized and run by The Artists Circle, a group of textile artists, Threads of Resistance received over 500 entries. I did not make the cut. I will, however, be traveling to The New England Quilt Museum for the opening on Saturday, July 15, 2017 because I just can't wait to see some of my favorite works up close and personal. For more information about the show go to threadsofresistance.blogspot.com.


This is my entry, which I am very proud of:


SEES NO EVIL
24" x 42"
April, 2017
Beadwork, Andrea Theriault
Photo by Joe Ofria

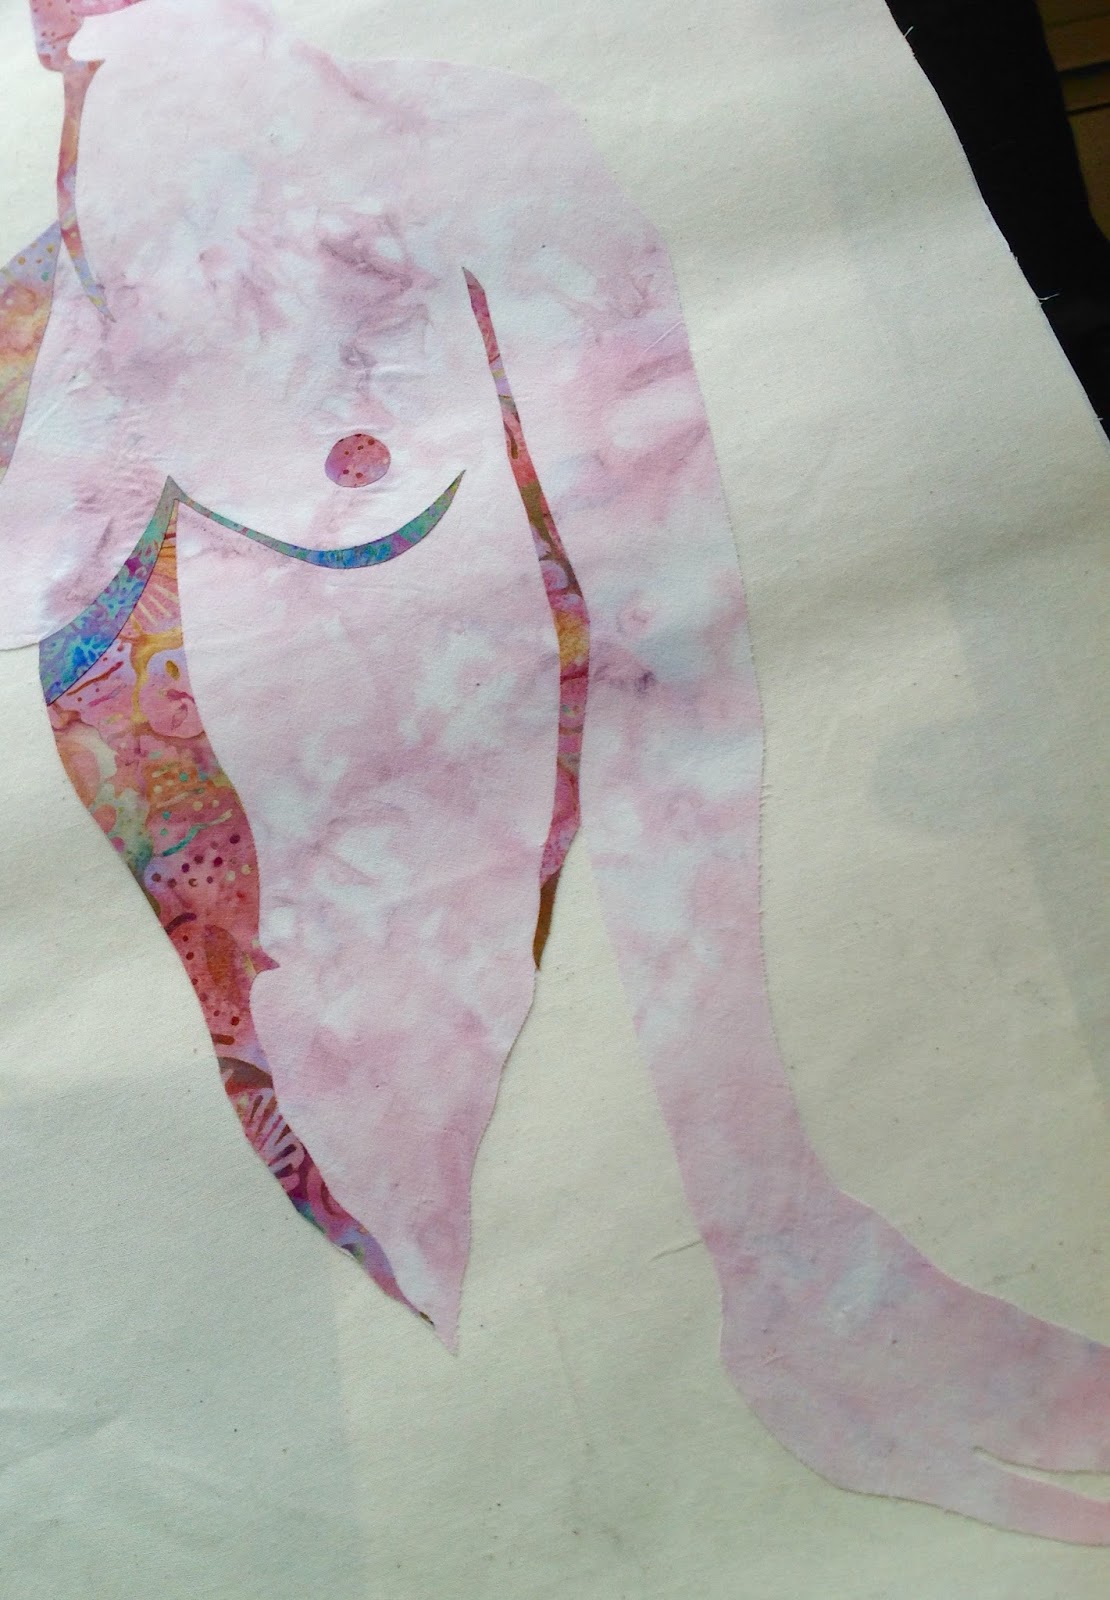
This was my first dyptic. I chose to do a dyptic because I saw my issue as being a two headed monster of a problem. On the right is a close-up map of the US middle, red states. You can see all the tributaries of the Mississippi River reaching from the right across the piece. The black, gold and silver spots represent oil or gas leaks and the gold beadwork lines represent the network of pipelines that already exist in these states. My daughter, Andrea, actually was a strong influence in some of my creative choices and she did all the beadwork on the second panel. 

With so many leaks already a part of history, why would any administration actively support two more pipelines, the Keystone and Dakota Access Pipelines. Which brings me to the left part of the dyptic and what I think is the second aspect of this problem. Someone is refusing to acknowledge or see that pipelines leak and cause havoc. Environmental issues are front and center with me. I am very worried about clean water, air and land being available for the future for all our children and grandchildren. 

You may not like my politics. I only ask as an artist and a citizen of the USA, that I still have the right of free speech in order to air my grievances in the most natural way possible, through my art.

I entered a couple of other calls for exhibits also showing in Lowell this summer. The first is at the Whistler House Museum of Art and is called Contemporary Art Quilts 2017: A Juried Exhibition and will be opening August 5 to September 1, 2017. The Artists Reception is on Saturday, August 5 from 2-4pm. I entered Queen Bee and Lady Feather, neither of which has ever shown. They accepted Queen Bee.


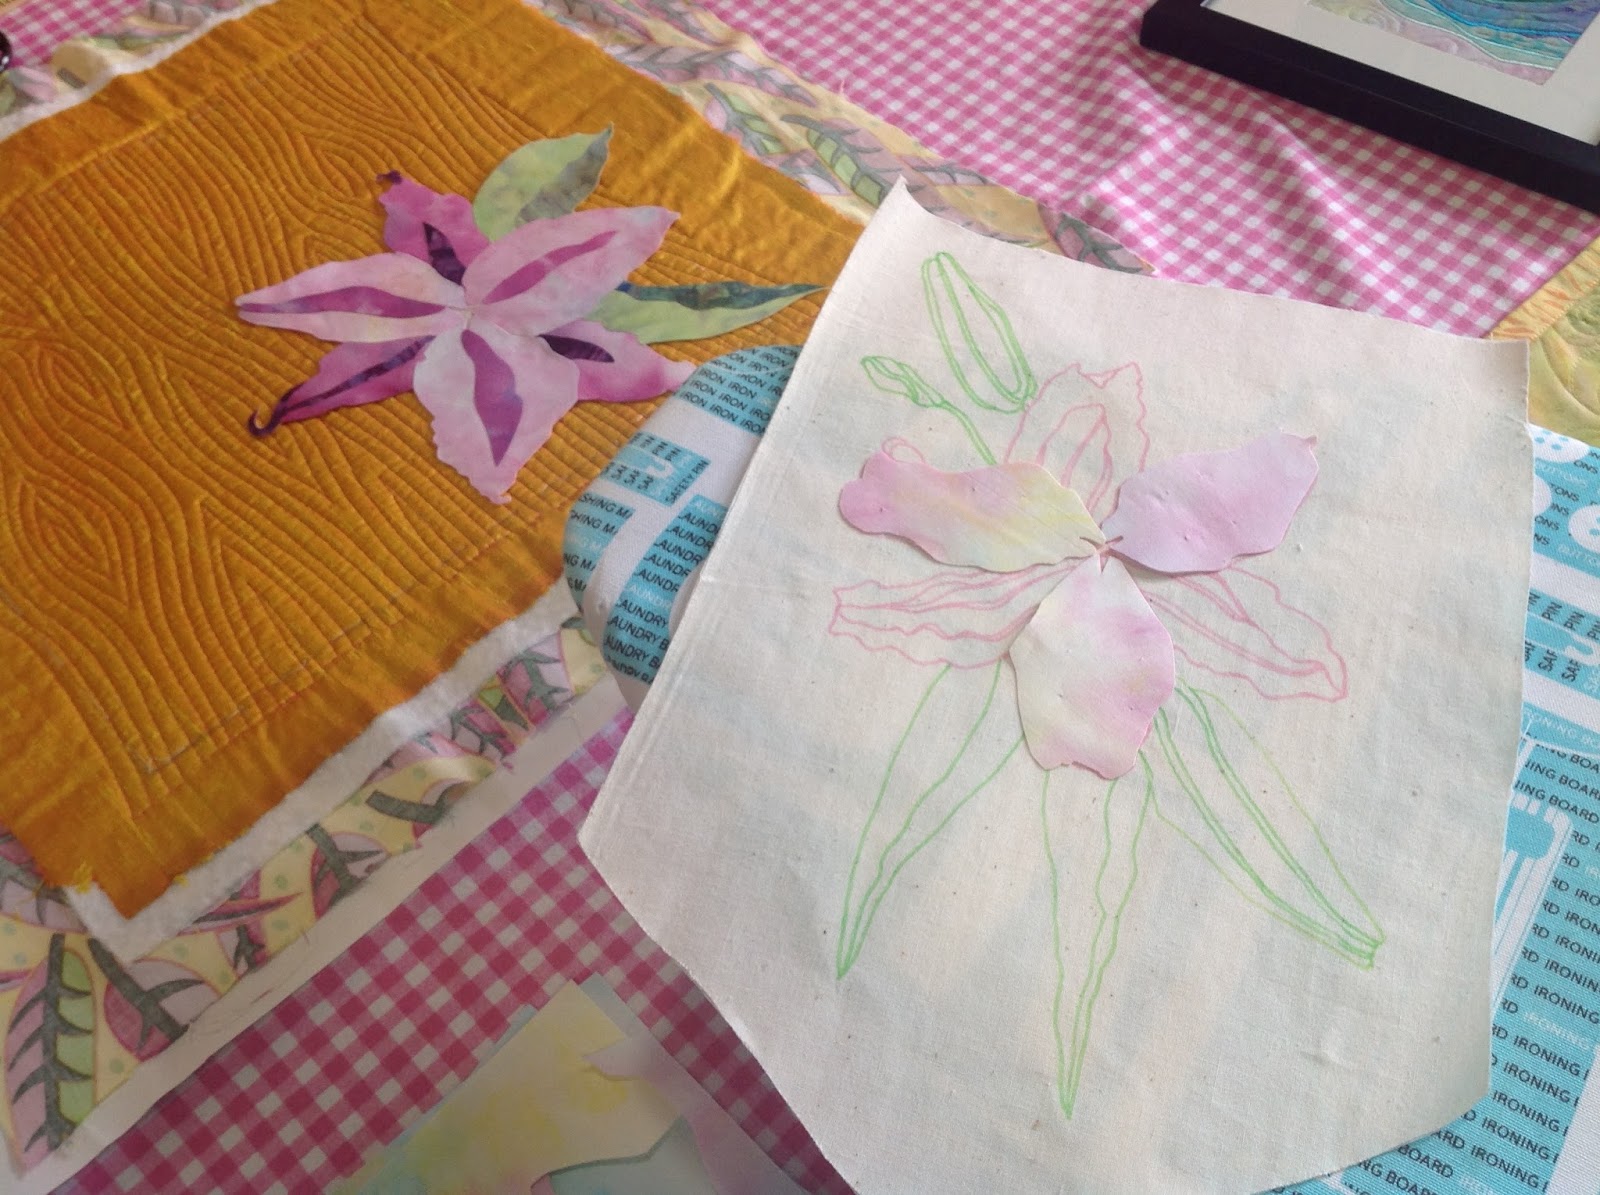
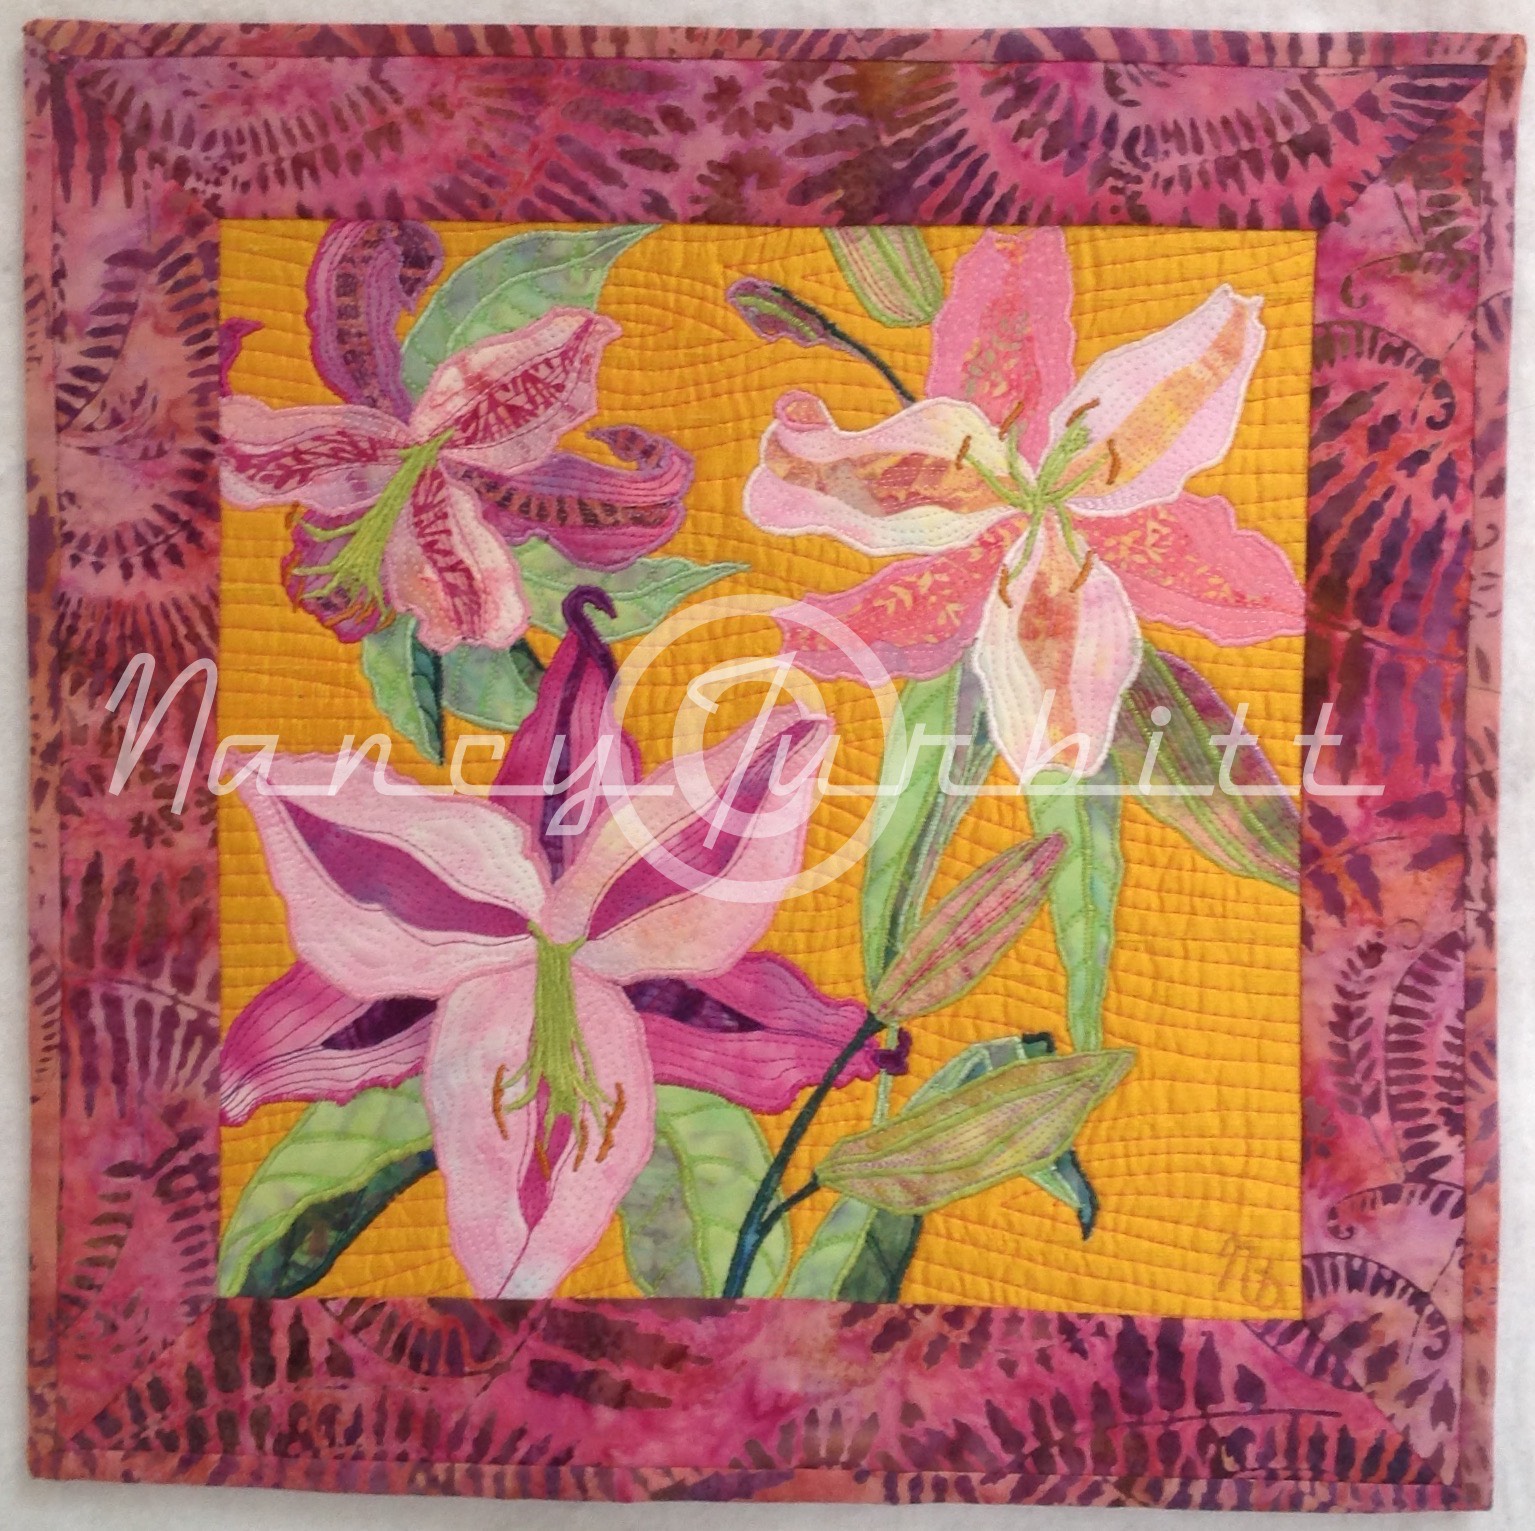
QUEEN BEE SAYS NO TO GMOS
43" x 45 1/2"
2014
Photo by Eric Zhang

Since I didn't have to create a piece for this exhibit, that freed my time to consider creating a piece for another upcoming call also showing in Lowell this summer. This call is named Little Black Dress and is showing at The Brush Gallery & Studios from August 5 to September 16. The Artists Reception will be held on Saturday, August 26. Based on my reflections of the times I have worn this type of dress, it is more like a pictorial memoir than my usual art quilts. I used two of my former "little black dresses" as some of the textiles for this piece. The blue in the title refers to the tall bearded irises that my mother grew for years and painted so well towards the end of her life. My mother's influence permeates this piece, culminating in the third and last dress being the one I wore to my mother's funeral.


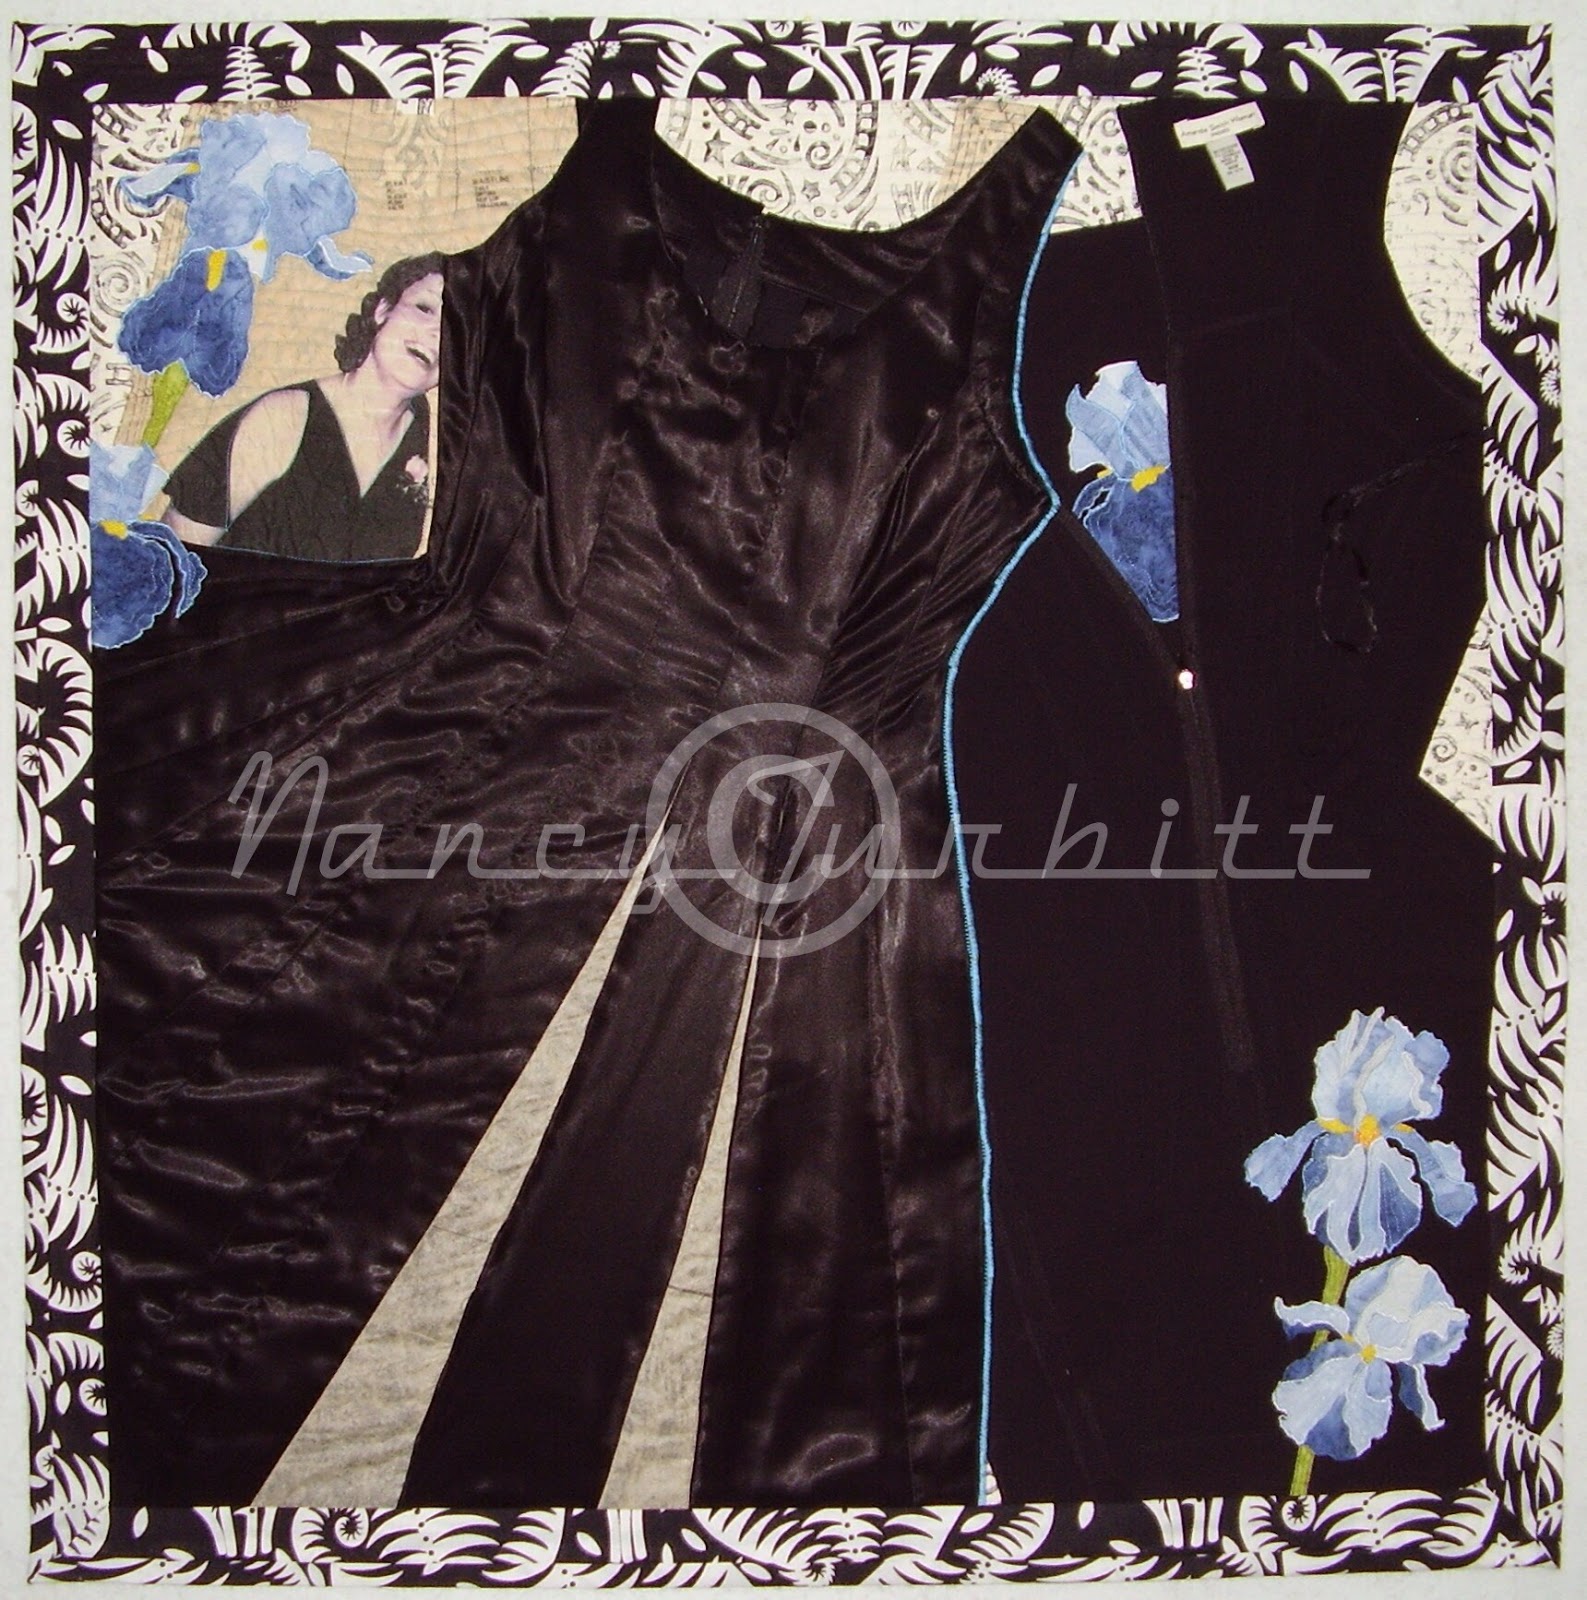
MEMOIRS IN BLACK & BLUE
39" x 39"
June, 2017

I stretched my usual technique style a bit with this one using not only fabric which was printed with my own linoleum cut, but I incorporated the actual dress tissue-paper patterns, dresses and used a photo transfer onto silk fabric for the first time. This emotional piece may be the beginning of a new series, but with all that I have on my plate I won't be able to continue the series until next year. Memoirs was accepted into the exhibit at the Brush so both Queen Bee and Memoirs will be showing in Lowell, MA late this summer.

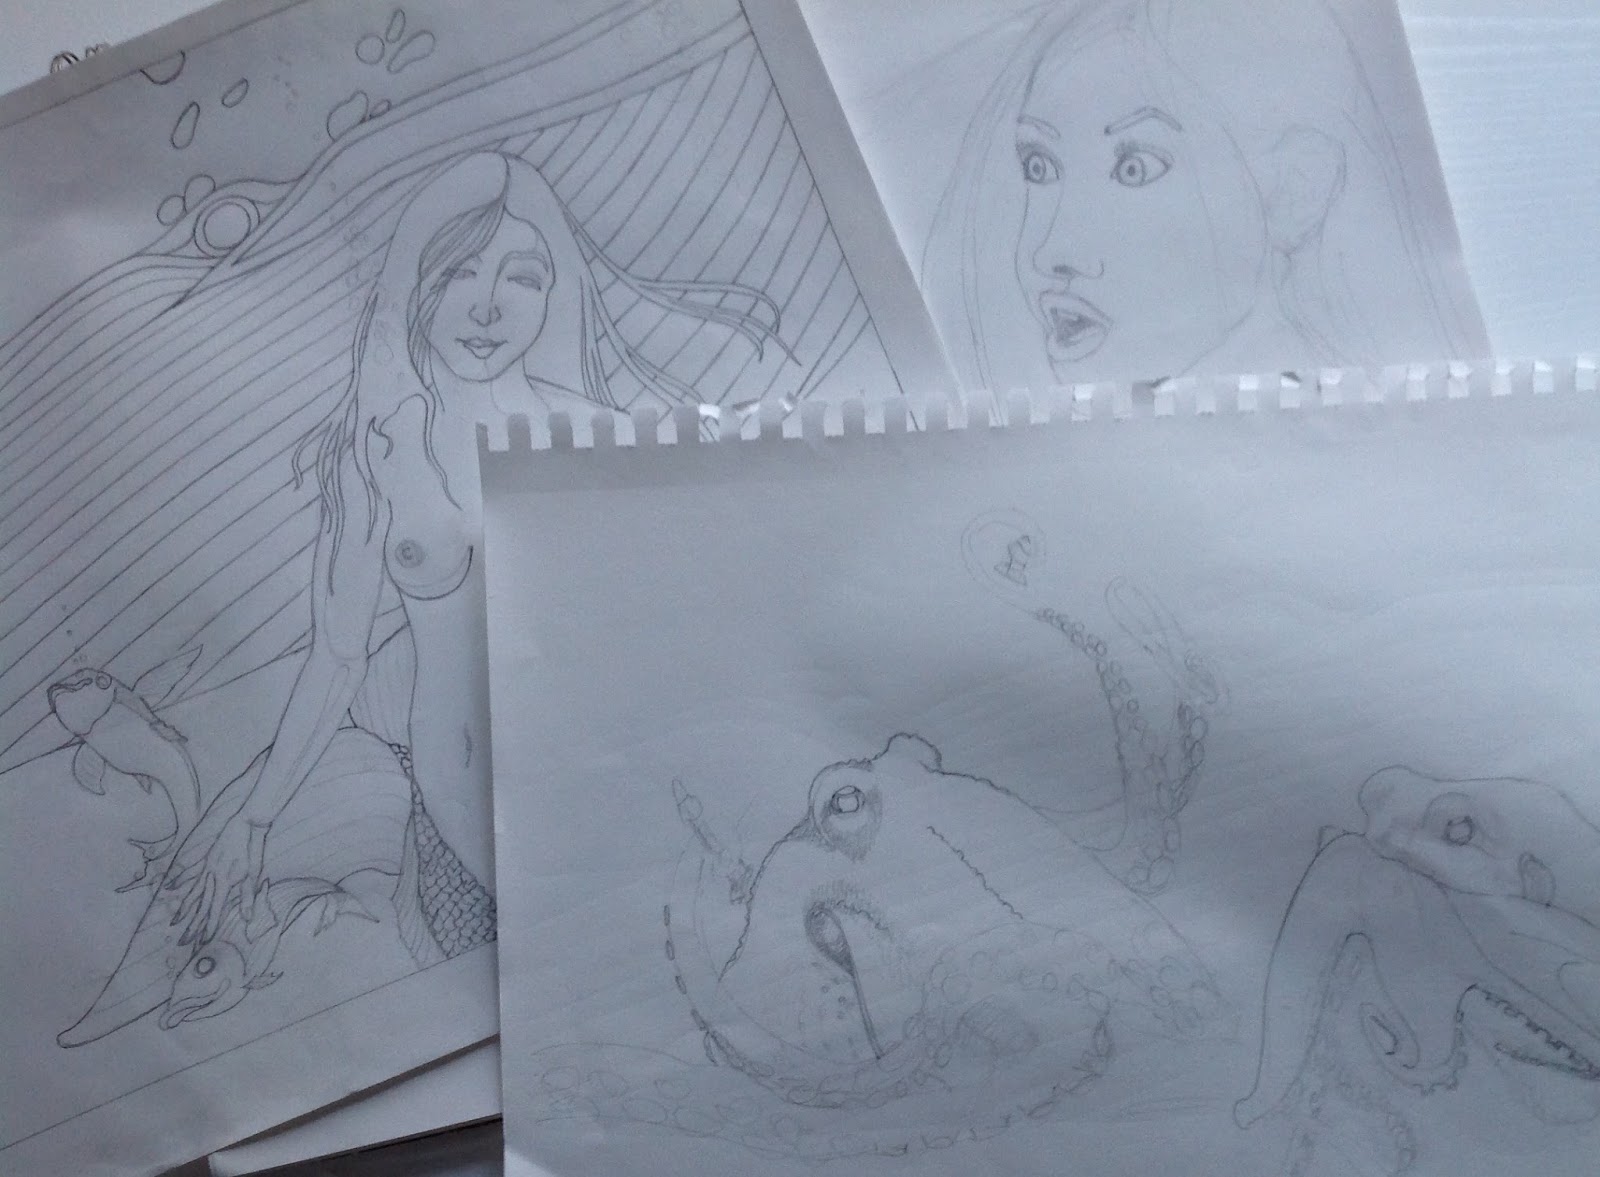
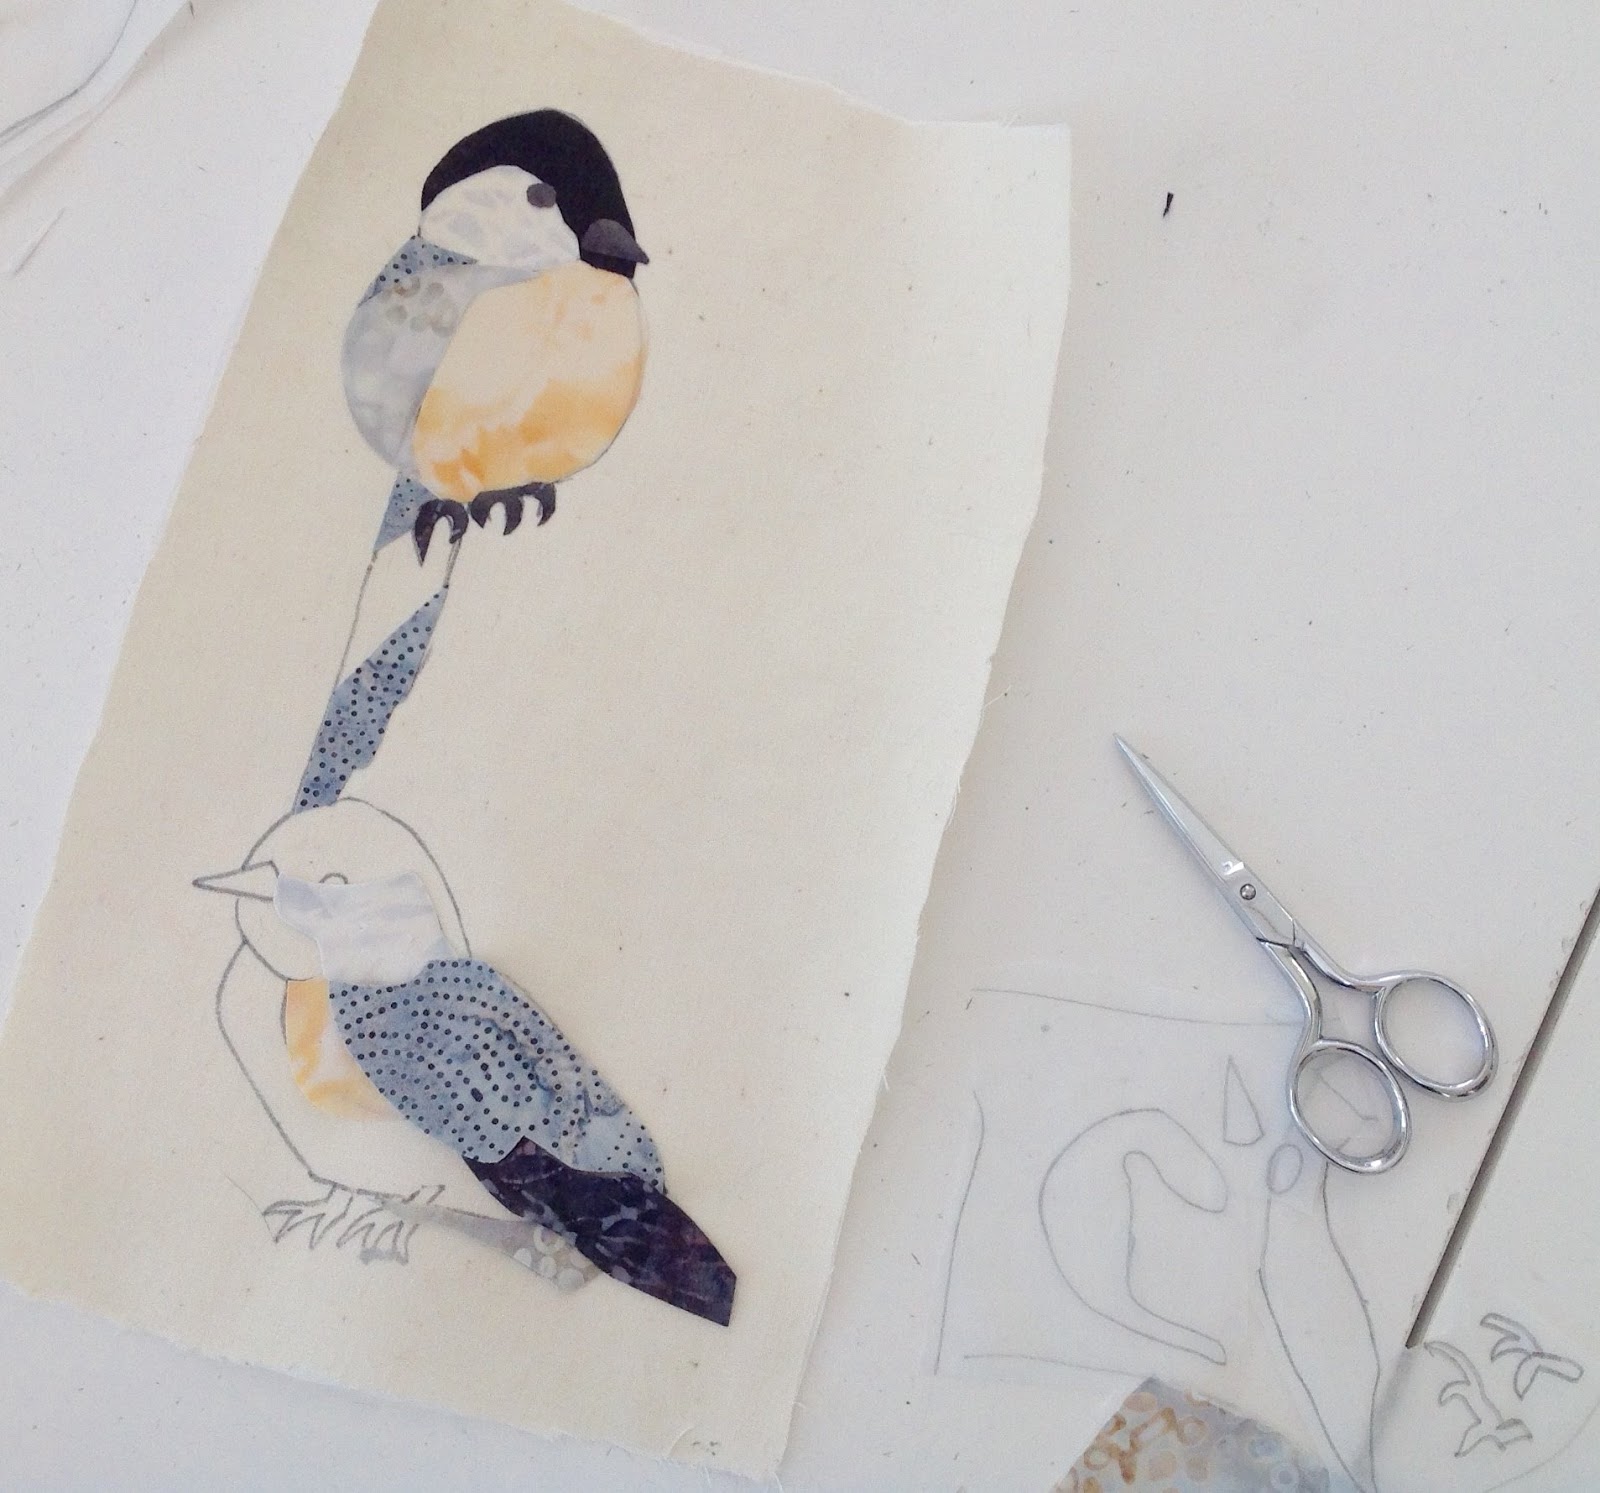
Moving on to what I am working with right now, Apollo will be finished by mid-July. I have been working on it in fits and starts between the other pieces this spring. I am not far from completion. I will put up some pictures of the process in my next post. Also on deck for later this summer is A Child's Eye in which I must create a 3 foot wide drawing of a wicker settee by using discharge medium on fabric outside on my deck. Fresh air and good weather are a requirement for discharging.

Sideways view of a thistle growing in the median near where I used to work. This photo is my primary source for the drawings of the thistles used in Apollo.
My first drawing of the wicker settee in A Child's Eye. I have since had to redraw the entire settee. Because it is so big, this is going to take a long time to draw out with a thin brush on fabric over my light box. 
Time to turn in for the night. Tomorrow is another busy day in the studio!


Thursday, February 9, 2017

The Teacher in Me


It's been a long time coming!


In preparation for an invitational event at the New England Quilt Museum called "Meet the Teachers" this past October, I did some work finishing off my three concepts for workshops. Above is my brochure front cover and the inside of the tri-fold.

I offer three workshops, Fabric Markers & Pens: Enhance & Design, Floral Compositions with Fusible Web, and From Photo to Quilt: Landscape, as well as a trunk show lectureMy topics for the teaching concepts draw from my strengths as an artist; simple landscape compositions, using fusible web to facilitate getting a strong composition, and using markers directly on fabrics to enhance the surface of a quilt.


Fabric Markers & Pens:
Enhance & Design


Several of my quilts have successfully incorporated the use of markers as a vital technique in producing the final piece including, Queen Bee Says No to GMOs, (honeycomb bodice, right), Monumental and Empress of the Pines.

Students in the fabric marker class will be working on one of three of my small floral designs. While working with fusibles and the markers and pens, students will be also finishing the design with stitching and adding a decorative fabric frame with a finished binding. They will be taking home a small finished piece along with the knowledge of how to use markers and pens at home. 

Petal Pushers (right)
My designs are simple to use, uncomplicated and offer the beginner a great starting point. 


I use two different products in this class. One is the Fabrico Marker by the Tsukineko Company. They are developed specifically for use with fabrics and have dual heads, fine tip and brush tip. My chart to the right indicates all the colors available and I have used them to show how each tip looks when used on white cotton. We also learn to use Sakura's Pigma Micron pens which give a fine drawing line in archival quality dye-based inks. A small kit fee ($10) sends the students home with the markers and pens that they have used in their design.


Floral Compositions with Fusible Web

In my many years of creating fused art quilts, I have developed a way of ensuring that segments of my drawings are placed well for the composition. I fuse colors of the quilt to a pre-fused, paper-backed muslin first, layering as much as I need, and then cut these sections from the muslin to pin them to a pre-stitched background.


Students will be using my floral designs to create a finished 14" square piece. This is an intensive two day workshop and much attention is payed not only to color choices but to placement and composition as well, including active critique on the work wall.

Stargazer (right)


From Photo to Quilt:
Landscapes


Having taken so many photographs specifically for use as subjects for art quilts has given me a strong base for teaching my techniques. I manipulate my photos to get the highest range of contrast and then render them in black & white. Using a light table to draw out a simple design lets me focus then on choosing the right fabrics to illustrate my design.
In this one day classroom, after learning my tricks for using photo altering apps on computer, students will use one of my two designs to render their own landscape experience. A lot of attention is payed to how to find the right fabric for the elements of a simple design.


In Marsh Walk you can see how the subtleties of patterning, and color within a batik or hand-dye can add to the overall visual understanding of a landscape. At the end of a day a finished 12" X 18" art quilt goes home with the student as well as the knowledge of how to produce a landscape quilt from their own photos.

Marsh Walk (right)

Trunk Show


Don't we all love to see a great trunk show. Let's face it, it is like going to a gallery for a show but hearing the artist talk about all the back stories. (Which are always so much more fun.)


So there it all is in a nutshell. OK I'm ready now. Let the fun begin.


If you or your guild would like more information about my classes, you can go to www.nancyturbitt.com for information, prices, and supply lists. Would you like to have some brochures? Email me at artgirlri@hotmail.com.

Sunday, February 5, 2017

A Whale of a New Year

And so it goes, the years flow from one to another. Here we are in 2017 and that means it's time to assess and project all the actions in the studio.

It was a rejection from Quilt National. Expected, so I dusted myself off and entered Lady Feather and two others into SAQA's Layered Voices. That was a rejection as well. With over 500 entries each to this SAQA exhibit and the H2Oh call, my chances were better at Quilt National. I am rethinking my strategy towards entering all-SAQA exhibits. I will no longer go out of my way to create a piece for a SAQA themed show. If I have one done or if one of the ones I was planning on doing fits into their theme, good to go. If not, it won't be happening.


So this year, I am aiming at something a bit different.


I have a big goal of finishing up some UFOs this year. Needless to say, like so many of us, I have a huge pile of them. I also made a goal list for the business of art and for refurbishing parts of my studio. The later will hinge on my ability to make some money at this. First priority acquisition for my studio is an air conditioning system. Needless to say I have to sell a lot of art for that! Wish me luck!  


Some new things in the studio came as presents from Santa hubs. I have wanted to start using the Inktense pencils for a while to give depth to the fabrics I choose. So I am happy to say I dove right in with my first "new" project of the year. Each year since 2013 I have developed one of my Nature's Portrait Series with past personalities being Queen Bee, Mariposa, Empress of the Pines and last year, Lady Feather. 2017 is the year of the ocean for me. Meet Balena.


Balena is the Italian word for "whale." I have taken on a different approach to this year's personality by realizing that each character I create needs depth of understanding, not for the viewer, but from me. I really have to know who she is. So I have begun writing in journals about Balena. She is a 15 years old mermaid, a Pisces, a loner with a sharp intellect due to her voracious appetite for learning and inner curiosity. "Often quiet, she has a bond with a blue whale who always ends up showing up when she thinks about him." This is how my journal goes. It's storytelling. And I am indulging this practice in order to get a better feel for how to portray this character. 

I also am forcing myself to do several drawings before choosing which will become my major piece for the year. Some of these are Balena plays chess with the octopus (he's winning), Balena has lunch in a kelp forest, Balena hitches a ride with a dolphin. The above drawing is Balena with the whale, my first fully completed drawing.
I also decided to create sample pieces so that I get a full idea of how my techniques are working and to see if I want to make any changes to my drawings. I made a small sample to test the Inktense pencils and to get a feel for color and shading. 
And then I decided to push it a bit and see how the whale which is behind Balena would look alone. I actually completed this piece to stand alone and entered it into a show in Yachats, OR to which it was accepted. The show runs March 10-12, 2017 in Yachats Commons. My first acceptance of the year is Giant below.


GIANT
34' X 43"
January, 2017

So I am doing a dance between new work and finishing older concepts begun at various times. Here are some of the ones I hope to pull off finishing this coming year:


 ...the mountains behind the butterflies in Apollo
 ...the buildings behind the morning glory wicker bench
...and the drawing of A Child's Eye

...a portrait of love between a woman and her cat
...in Medonja Saves His Girl 
...the other mermaids in Beyond the Deep
These four are big projects partially begun. I don't have to reinvent the wheel, but there is a lot of work to do to complete even one of them. I have been plugging away at Apollo a little bit daily as I have also been drawing Balena. Once Apollo is complete, I will move to more samples of the Balena series, perhaps an octopus study next.

This is a heavy load of work to attempt. As I step down as a SAQA Rep for MA/RI in March, I am expecting a reclusive and steady diet of STUDIO-time all year long. Whoopee, just what the doctor ordered or should I say just what Queen Bee ordered.


Friday, September 2, 2016

Lady Feather Has Arrived

My feet are swollen with the heat and sitting for hours on end in one place stitching for nearly a week straight and I am bone tired but the lady is done and has been entered into a show - two days before deadline even. She certainly was a high maintenance kind of girl!

In this shot I had laid different components on top of what was stitched down so I could get an idea of how she was coming out and how the colors were "playing" together. It was at this point that I discovered that I had no pink dogwood fabric. Carol Eaton came to my rescue with a perfect piece of fabric which she mailed out to me. The sky fabric is hers as well, so a good chunk of this piece has a bit of Carol in it.

Continuing from my first two posts about the "Lady", I found that creating this piece was way more full of layering than any other quilt I have done to date.


Simple components like the birds were easier. I fused them onto muslin together and popped them onto the quilt. Soon they were ready to be quilted. 


The flowers went on pretty easily as well. Each flower was fused to muslin first and then over the quilt to mask the stitching underneath for the sky. However the tiny bits of white at the tip of each dogwood flower were sewn separately and each thread had to be tied off and buried in the back. If I had a nickel for every time I buried cut thread, I'd be rich!


What really took time and brainpower was layering the feather quiltlets, her right arm, the Mourning Dove, her blond locks, and the handle for the mask. They all converged into one area. I ended up adding padding between areas like the feathers so that the fingers, which were on top, were stitched on an even surface. It became like a game of puzzles that I had to solve.

But it did get finished in time to have it photographed. And to enter it two days early for a call. Which call? Quilt National '17.


My detail shot (yes those are real feathers sewn on her mask)...
and here is the reveal...


LADY FEATHER
43" x 42"
Completed August, 2016
$2,800.00
Commercial and Hand-dyed cotton, silk and organza; fused, discharged and machine stitched with leather cord and feathers as embellishment


OK, so let's talk about the elephant in the room. This is my first time entering Quilt National. It has been my number 1 goal to get accepted into QN since I first saw a QN catalog back in the 1990's, twenty years ago. I feel that only now, after years of practice and building a reasonable body of work, am I ready to try. But the reality is that countless artists submit many times before getting accepted (if at all), which in a biennial show means double the years of waiting. I am staring straight down the barrel of a loaded shotgun that's aimed directly at my heart. I am expecting that it will go off and I will have to deal with rejection. 

My good friend Sue Bleiweiss just wrote an article for her blog on rejection and how necessary it is towards fueling the hard work we need to create growth and expertise. Her thoughts are right on the money! My first five entries into exhibits ever were met with acceptance, which is down-right unusual. Then I got a bucket full of rejections and I feel that I am somewhat numbed to the sting at this point. I have been twice rejected from Visions. But honestly, you can't let it get you down and you have to just keep trying harder.

So, come the first week of October we all will know who did get into Quilt National. No matter what the outcome, I will be submitting a piece every time the QN call comes up from now on. I'm already thinking about 2019!

onward...

I have another deadline approaching. I have mentioned Apollo in previous posts. I have just begun to really get into it. I am working the background areas like a landscape and adding foreground wildflowers layered on top. Lastly will come the Alpine Apollo butterflies which are sipping from the nectar of thistles. If Lady Feather nearly killed me, Apollo surely will finish me off! I will be posting as it gets going into full blast. 

To get into the mood, I visited a butterfly garden in Westford, MA with a friend this past Monday. It was just amazing, they were everywhere! Here are some photos I took.


And not that long ago in the beginning of August...

SAQA MA/RI had a call for entry this spring and I juried into the exhibit called "Currents". It opened August 7 at the Brush Art Gallery & Studios in Lowell, MA. It was wonderful seeing so many people there to take in the opening!


Here I am with my entry called Reunion, which was taken from a photograph of Multnoma Falls outside of Portland, OR.


And one came home...


Mariposa has been touring with "Butterfly Whirl" and the tour has finally ended. She is back home. I decided that life is too short not to enjoy every minute, so I hung the girls in my bedroom. I say "good night" to them each night with a chuckle under my breath. 

Next post you will be seeing some of Apollo...


Wednesday, August 31, 2016

Building a Nest

I knew when I drew it that Lady Feather's nest would be perfect for discharge dyeing. So for those of you who are new to the art quilt world, discharge dyeing is using a chemical to remove color from already dyed fabric, leaving wherever you apply it white or close to white, without using the more destructive bleach.


My first task was in finding the perfect fabric. I chose a hand dyed rust fabric with some ombre color change from one side to the other. I bought a fresh bottle of deColourant, now made by Jacquard Products, and found a perfect sized brush.  

This product is reasonably toxic when in the gaseous state and also not the best to have on your skin. I was careful to use tight latex gloves and a respirator. I also brought my ironing board out to the deck so I didn't poison my kitties.


After making sure the fabric would give me the right look with a couple of samples, I painted on all of the twigs and grasses by using my light box and the drawing. As you apply it the areas appear wet but that is the only indicator that you have painted your design. Color does not come out until you hit it with the strong heat of an iron. You need to be methodical in your application of product. The fluid needs to dry after applying before the next step, so I set it in front of my studio fan and waited impatiently. A watched pot never boils!


Finally it was dry enough for the next step, which is applying heat with a dry iron until the design areas show with the desired degree of contrast. I used a press cloth below and above so neither my board or my iron was in direct contact with the chemical. You can actually see the smoke lifting off the fabric as it works.


Set up and ready to iron.


What it looks like as it is burning out the color.


I actually marked my press cloth with a marker so it never gets used for anything else.


What it looked like after the first application and ironing.

No matter how careful I thought I was at working methodically through the design, I missed spots. So I went back and re-applied to those areas and I defined other areas. After drying I ironed it off again. I actually ended up doing this one more time before feeling satisfied that it was the way I wanted it


I painted for the second time over the light box and my cartoon. Even with the light box it was hard to see because the color of the fabric was so dark.


Complete!

Phew, finally I got to take off the respirator and get some fresh air!

The final step to making the fabric set and to stop the discharging process is to thoroughly wash the fabric with a strong detergent for laundering clothes. Synthrapol is often suggested as the best option, but not having any I just used my laundry detergent and scrubbed and rinsed a few times. If I were doing a large area with discharge, I would definitely invest in a bottle of Synthrapol, but as I am not a dyer I might not have any other use for it in my studio.


I may have been a bit free with the brushwork so after it dried I went back over the whole piece with a matching fabric marker and defined the lines. I love using Tsukineko Fabrico Markers to help define and refine areas on my fabrics. They worked wonderful here to really refine the brushwork. The nest was finally completed and ready to add fusible web to the back. 


I cut the outer edges close to the design and set it on top to see how it looked. 


I moved on to work other areas of Lady Feather which needed to be completed before the nest. Finally I got to set it onto the quilt with stitchwork. I decided to stitch crazy wild stitching in the negative areas around the twigs so that they would pop a bit and I accentuated that with an extra piece of batting beneath the nest. I used three colors of rayon thread, gold, rust and brown to give some shading and roundness to the nest. The best part of the stitching is looking on the back to see the saturation of the stitches. 

While it was a lot of work, I think it really helped to define the complexity of the twigs better than any other technique might have. Ultimately, I am pleased with how it came out and will not hesitate to use deColourant again for any other similar project.

In my next post I will reveal the completed piece and talk about the nervous energy of entering Quilt National for the first time.